


The kernel log records the operating status of the Antminer L7 miner, often helping us diagnose certain faults.
The following content deals with the fault phenomenon of the L7 reporting 0 ASIC chips on the hash board during operation. We need to analyze the fault issue and find a solution.
I. Fault phenomenon
The hash boards corresponding to Chian 0 and Chian 2 have found a complete set of 120 hash chips. However, there is an anomaly with the hash board of Chian 1, which reports 0 hash chips.

II. Fault troubleshooting and handling methods
To check if the hash board cable is faulty, we can locate the connected hash boards through the cable interfaces CH0/CH1/CH2 on the control board. The log shows that Chian1 reports a fault of 0, while the hash boards corresponding to Chian 0 and Chian 2 have no issues. Therefore, we can try swapping the cables at the hash board ends corresponding to Chian 1 and Chian 2, then power on the device to check the log.
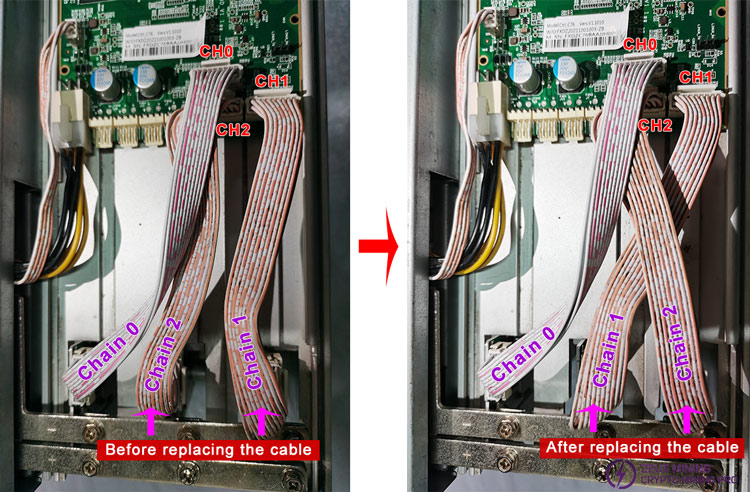
1. After the flat cable is exchanged as shown in the figure, if the kernel log still shows that Chain 1 detects 0 chips and Chain 2 can find 120 chips, it means that the flat cable connected to the CH1 interface is abnormal. We can replace this 18-pin data flat cable.

2. If we replace the cable, the kernel log shows that Chain 2 detects 0 chips and Chain 1 detects 120 chips. At this time, it can be basically determined that the hash board connected to the CH2 interface is faulty.
Troubleshooting Antminer L7 hashboard failure step by step
(1) Use the Antminer universal chip fixture test fixture to test the hashboard.
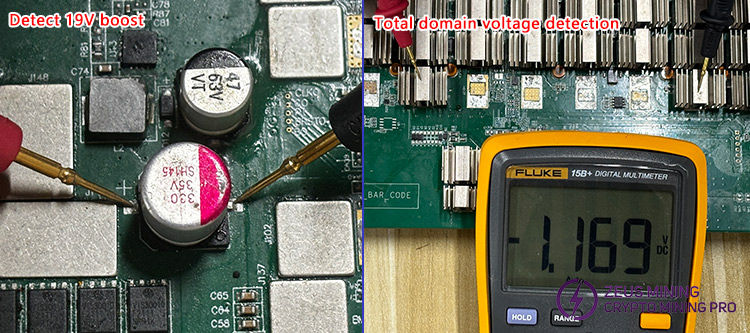
(2) After the above tests confirm the fault. First, check the 19V boost and total domain voltage. If the power of the hash board is normal, proceed to the next step.
(3) Check the voltage of the 1.8V and 0.8V LDO chips in the last domain. First, check whether the output voltage of the 1.8V LDO chip is abnormal. If it is normal, then check whether the output voltage of the 0.8V LDO chip is normal. If the output voltage of the 0.8V LDO chip is not 0.8V and its input voltage is 1.8V, and if the pins of the 0.8V LDO chip are not poorly soldered, we can remove the 0.8V LDO chip first.
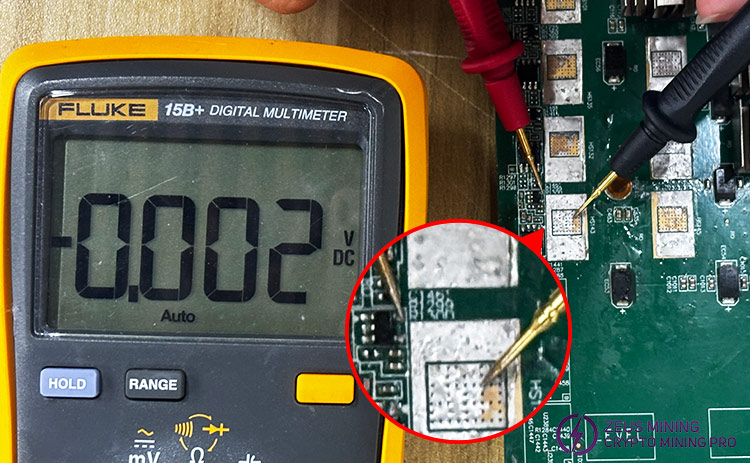
(4) But after the removal. Next we need to check the ground value of pin 5 of the pad to determine if there is a short circuit. Set the multimeter to the diode position, place the red test lead on the negative pole, and use the black test lead to measure the ground value of the 5th pin of the pad. The test found that the ground value was 0, indicating a short circuit.
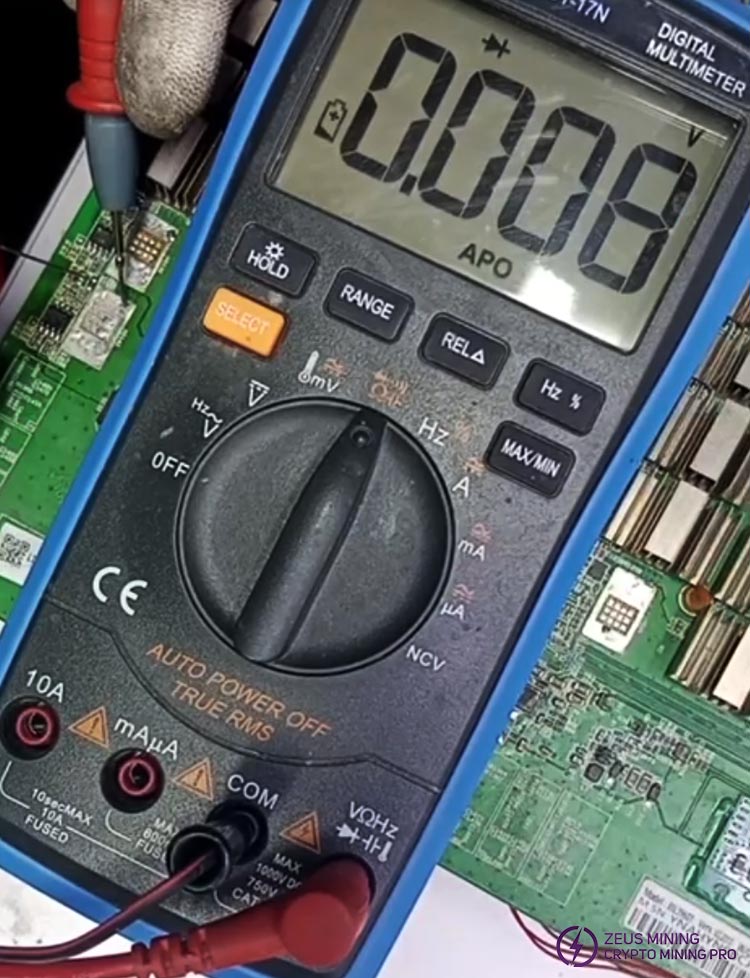
(5) This situation may be caused by a short circuit in the ASIC chip corresponding to the LDO chip domain. Please remove the nearest ASIC chip. Check again to see if the ground value of the 5th pin on the pad has returned to normal. If abnormal, continue to remove the next ASIC chip in the corresponding domain. After removing each ASIC chip, test the ground value of the 5th pin of the pad to see if it has returned to normal. If it has returned to normal, it means that the removed ASIC chip is damaged, and the faulty ASIC chip needs to be replaced.
(6) If it is still abnormal, we use the same method to remove other chips in the corresponding domain of the LDO chip. It is recommended to start from the ASIC next to the LDO chip. If the ground value of the 5th pin of the pad returns to normal after removing the faulty ASIC chip, then solder the 0.8V LDO chip to the hash board.
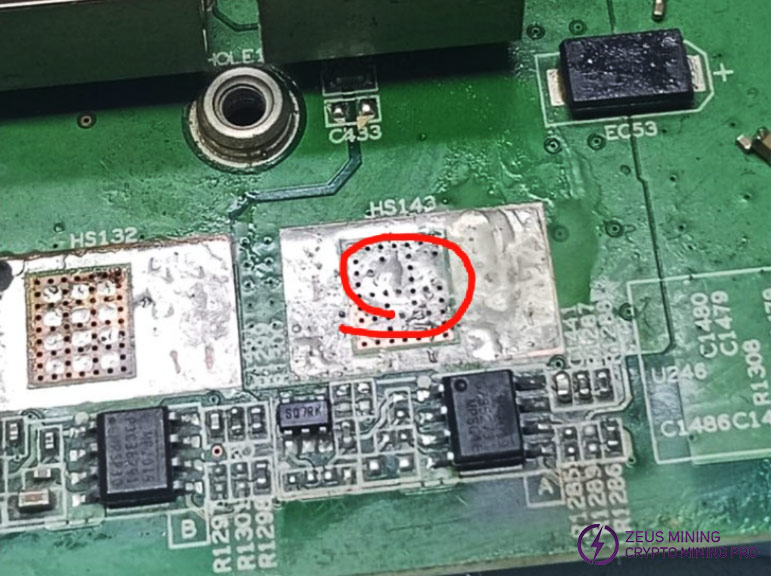
(7) Finally, the hash board passed the universal fixture test and successfully found 120 ASIC chips.
Of course, if you want to understand and learn more about the repair methods and techniques for Antminer L7 hash boards, you can click here to view more details.
In the daily operation of the Antminer L7 miner, if any fault issues are detected, especially with the hash boards, they must be promptly troubleshooted to effectively avoid more serious losses with the ASIC miner.