


After the Antminer has been running for a long time, the hash board will fail. This article will detail the fault phenomenon of "0 ASIC" reported by the S19j Pro+ hash board and propose troubleshooting methods.
I. Fault phenomenon
1. As shown in the figure below, the Chain 0 and Chain 1 hash boards of the s19j pro+ are normal, and a complete set of 120 hash chips can be found. Chain 2 reports "find 0 asic", indicating a fault.
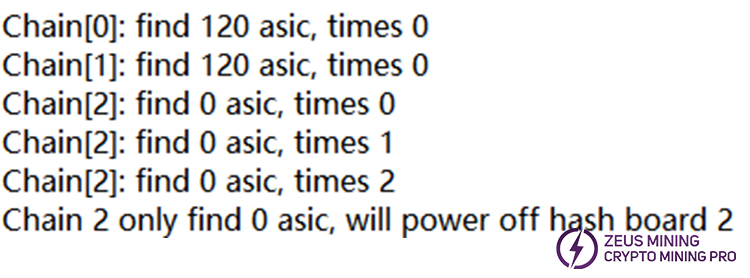
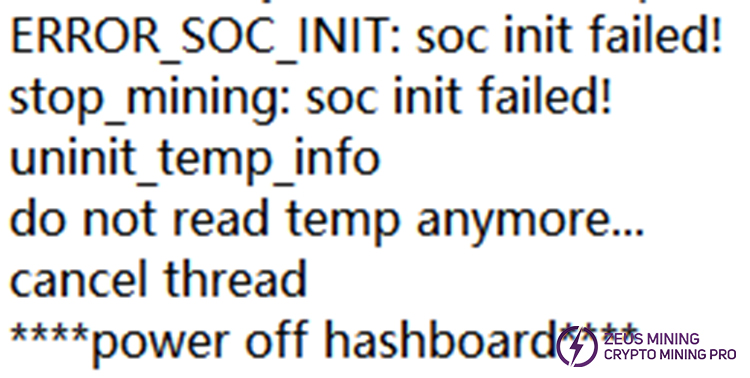
2. Since the Chain 2 hash board reported 0 fault, the miner will stop mining, cancel the initialization temperature information, no longer read the temp, and the power will turn off the hash board.
II. Troubleshooting and solutions
1. It is recommended to check whether the Chain 2 cable is loose or damaged. We can find the connected hash board through the CH0/CH1/CH2 control board cable interface. If there is no problem with the Chain 2 cable, it is recommended to remove Chain 1 and Chain 2 from the hash board interface, swap and insert them, and then power on the miner to check whether the log still reports 0 ASIC.
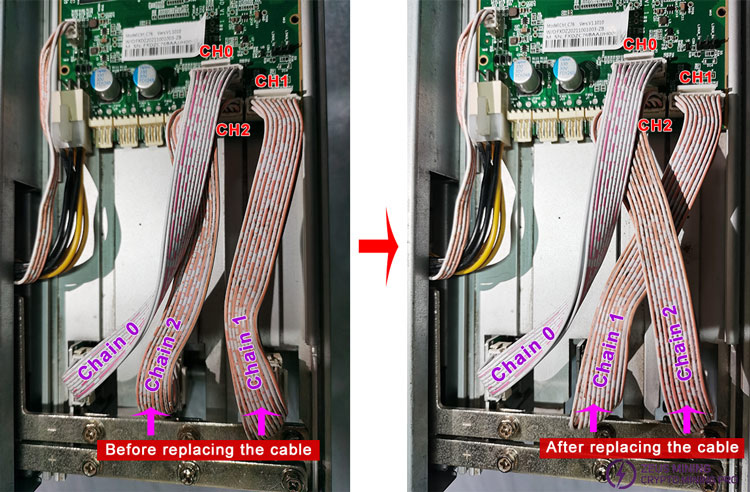
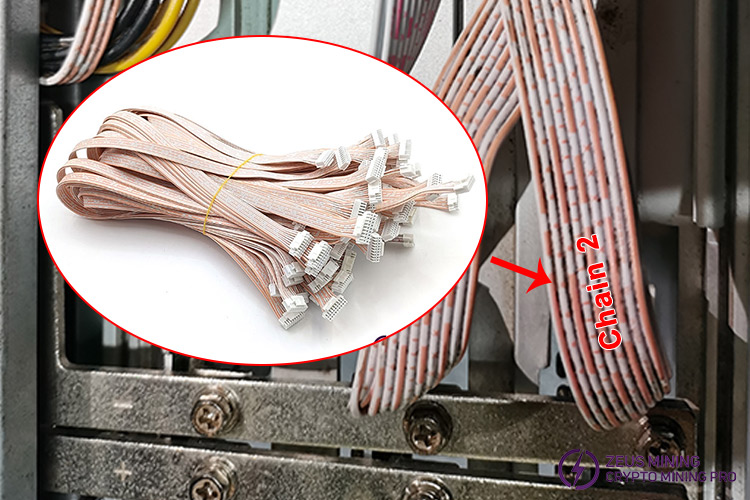
Case 1: If, after swapping the cable, the kernel log still reports Chain 2 as 0 ASIC, and Chain 1 can find a complete 120 chips, it means that the Chain 2 cable is faulty. It is recommended that the 18-pin data cable be replaced.
Case 2: If after swapping the cable, the kernel log shows that Chain 1 detects 0 asic chips, and Chain 2 detects a complete 120 chips. At this time, it is determined that the hash board connected to Chain 1 may have a fault.
2. After troubleshooting, we need to diagnose the abnormal hash board. It is recommended to use the Antminer universal chip test fixture to troubleshoot the S19J Pro+ hash board failure.
• Correctly insert the 4-pin voltage regulator line and 6-pin PSU cable of the PSU into the test fixture's interface.
• Connect one end of the hash board ribbon cable to the test fixture, then connect the USB to TTL cable to the test fixture and the computer.
• Power on the tester and let it complete the self-test. Then, the red and black alligator clip cables clamp the positive and negative poles of the hash board, respectively, and connect the other end to the positive and negative poles of the power supply.
• Then, insert the other end of the hash board ribbon cable into the faulty S19j pro+ hash board. Press the test button after all cables are connected to start the test.
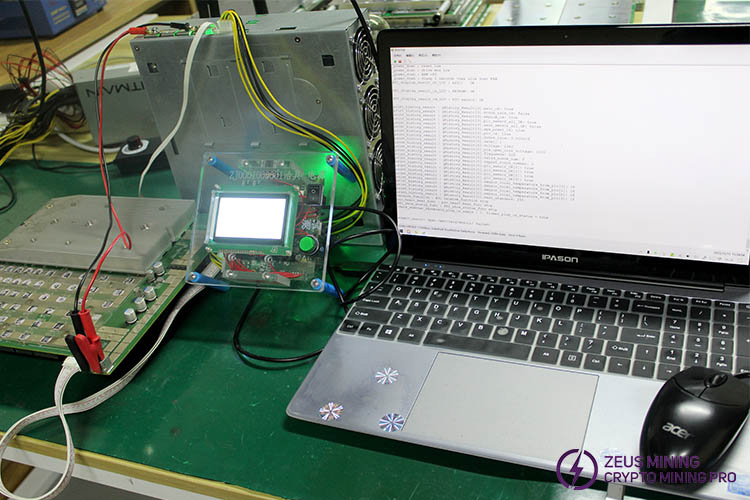
For more details on the hash board test fixture, please click How to use and connect the Antminer universal chip fixture test fixture to view.
3. If test results indicate that the Chain 1 hash board is faulty, the recommended troubleshooting method is:
a. Check whether the total domain voltage is standard. Using the multimeter's DC voltage position, place one probe on the heat sink of the first domain of the hash board and the other probe on the heat sink of the last group of domains. The total domain voltage can be measured.
b. Check whether the boost is normal. Use the DC voltage position of the multimeter, place the two probes at both ends of the capacitor EC47, and the boosted voltage can be measured.
c. If everything is normal, check the RO voltage. We can check whether the RO voltage is standard at the half position of the hash board chip.
For more repair methods and techniques of the S19j Pro+ hash board, please view its introductory theory course here.
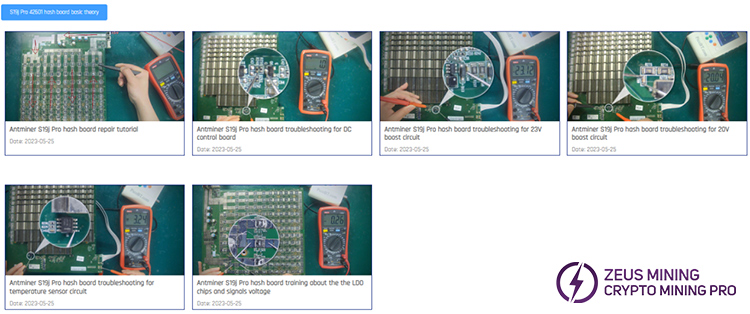
By taking the above steps, we can assist users in solving the fault problems of the Antminer S19j Pro+ hash board, improve the repair efficiency, and ensure the stable operation of the miners.